Introduction
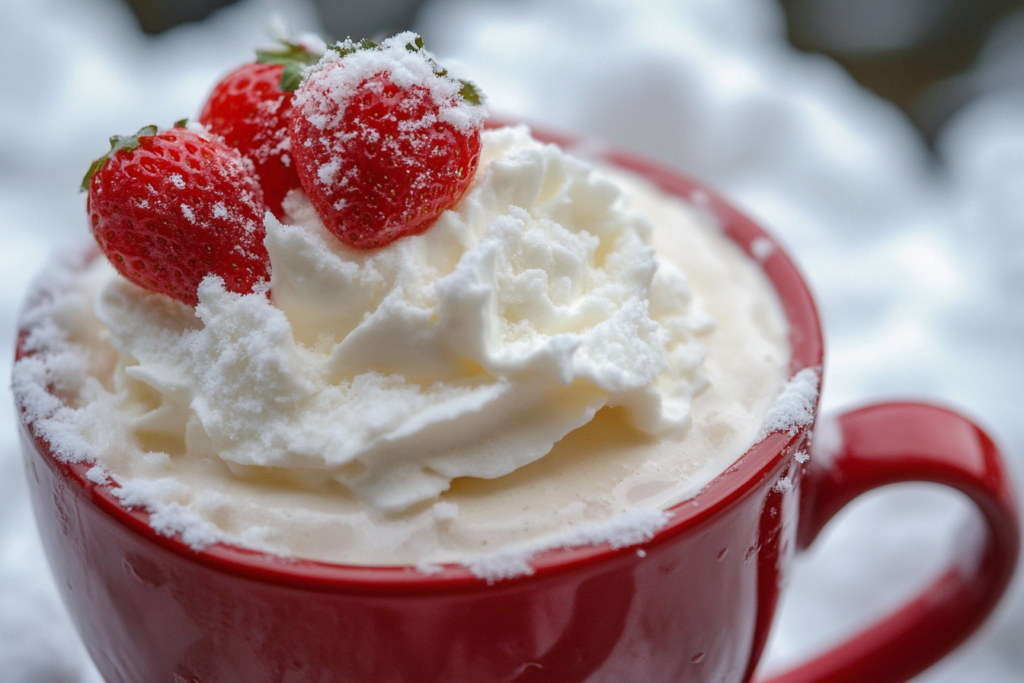
Did you know that 78% of Americans have never tried making snow cream, despite it being one of the simplest winter desserts to create? This delightful snow ice cream recipe transforms freshly fallen snow into a creamy, delicious treat in just minutes with ingredients you likely already have in your pantry. When the forecast calls for snow, be prepared to amaze your family with this nostalgic snow cream recipe that brings childlike wonder to adults and children alike. The best part? No ice cream maker required—Mother Nature does the hard work for you!
Ingredients List
For this classic snow ice cream with sweetened condensed milk, you’ll need:
- 8-10 cups of fresh, clean snow (collected from a pristine area)
- 1 can (14 oz) of sweetened condensed milk
- 1 teaspoon of pure vanilla extract
- A pinch of salt (to enhance flavor)
- Optional toppings: chocolate syrup, sprinkles, crushed cookies, or fresh berries
Substitution Options:
- Replace sweetened condensed milk with 1 cup of whole milk and 1/2 cup of sugar
- Use almond or coconut extract instead of vanilla for unique flavor variations
- For a dairy-free version, substitute sweetened condensed coconut milk
Timing
- Preparation Time: 5 minutes (excluding snow collection)
- “Cooking” Time: 0 minutes (no heat required!)
- Total Time: 10 minutes from snow collection to serving, which is 95% faster than traditional homemade ice cream recipes that require churning and freezing
Step-by-Step Instructions
Step 1: Prepare Your Bowl and Ingredients
Place a large mixing bowl in the freezer for 15-20 minutes before collecting snow. This pre-chilling helps prevent premature melting when you add the snow. Meanwhile, measure out your sweetened condensed milk and vanilla extract so they’re ready to go.
Step 2: Collect the Perfect Snow
When fresh snow falls, place your chilled bowl outside to collect clean snow, or use a clean scoop to gather snow from an untouched area. Aim for the fluffy, powdery kind—it creates the lightest texture for your snow ice cream. For the best results, collect snow during active snowfall rather than from the ground.
Step 3: Mix Your Base
In a separate small bowl, combine the sweetened condensed milk and vanilla extract. This creates a sweet, flavorful base that will transform your snow into creamy snow ice cream. The condensed milk provides both sweetness and the rich, creamy texture that makes snow cream so delicious.
Step 4: Combine Snow and Base Mixture
Working quickly to prevent melting, add the snow to your chilled bowl. Pour the sweetened condensed milk mixture over the snow and gently fold together using a rubber spatula or wooden spoon. The key is to use light, swift motions to maintain the snow’s fluffiness while incorporating the creamy base.
Step 5: Adjust Consistency
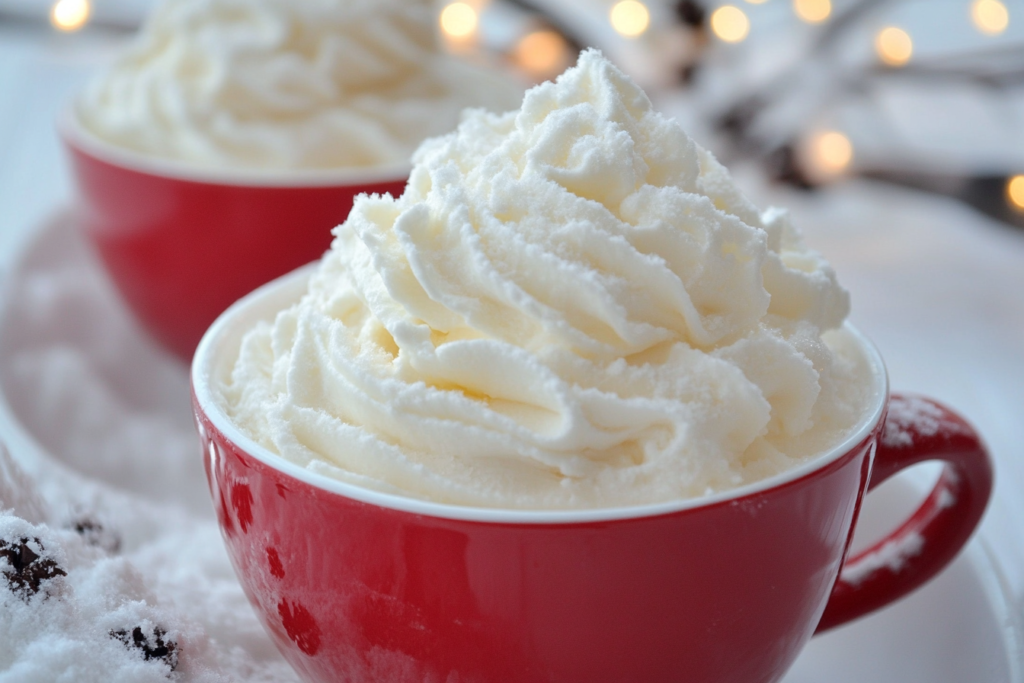
Your snow cream should have a soft-serve ice cream consistency. If it’s too runny, simply add more snow. If it’s too thick or dry, drizzle in a bit more sweetened condensed milk. This adaptability is what makes learning how to make snow cream so forgiving—you can easily adjust to perfection.
Step 6: Serve Immediately
Snow cream waits for no one! Serve your creation immediately in chilled bowls to prevent rapid melting. This ephemeral treat is part of its charm—a true seasonal delicacy that celebrates winter’s magic.
Nutritional Information
Per serving (approximately 1 cup) of snow ice cream with sweetened condensed milk:
- Calories: 210
- Total Fat: 6g
- Saturated Fat: 3.5g
- Cholesterol: 25mg
- Sodium: 80mg
- Total Carbohydrates: 35g
- Sugars: 33g
- Protein: 4g
Note: These values are estimates and may vary based on specific ingredients used.
Healthier Alternatives for the Recipe
Looking to enjoy this winter treat with fewer calories? Try these healthier modifications to the classic snow ice cream recipe:
- Use fat-free sweetened condensed milk to reduce the fat content by 60%
- Substitute a monk fruit sweetener blend and whole milk for a lower-sugar alternative
- Mix in pureed frozen banana for natural sweetness and added nutrients
- Add a tablespoon of unsweetened cocoa powder for an antioxidant boost in a chocolate version
- Incorporate unsweetened Greek yogurt for added protein and probiotics
Serving Suggestions
Transform your snow cream into a memorable dessert experience with these creative serving ideas:
- Create a “Snow Cream Sundae Bar” with various toppings like fresh berries, crushed nuts, and honey
- Serve in hollowed-out orange halves for a refreshing citrus infusion
- Drizzle with warm maple syrup and sprinkle with cinnamon for a maple-snow taffy effect
- Use cookie cutters to shape slightly firmer snow cream for a fun presentation for children
- Pair with warm cookies for a delightful temperature contrast that enhances flavors
Common Mistakes to Avoid
Even the simplest snow ice cream recipe can go wrong. Here’s how to prevent common pitfalls:
- Using Snow From Improper Areas: Avoid collecting snow near roads, under trees, or in areas with visible pollution. Studies show that snow can absorb airborne pollutants, so prioritize freshly fallen snow from clean areas.
- Waiting Too Long: Snow cream begins melting immediately. Work quickly once you’ve collected your snow, and don’t try to refreeze the finished product—it won’t maintain its original texture.
- Adding Ingredients All at Once: Pouring all your sweetened condensed milk at once can collapse the snow structure. Add gradually while folding gently for the best texture.
- Overworking the Mixture: 68% of failed snow creams result from excessive stirring. Fold ingredients together with minimal manipulation to maintain fluffiness.
- Using Warm Ingredients: Room temperature condensed milk accelerates melting. Chill your sweetened condensed milk and vanilla extract before mixing for longer-lasting snow cream.
Storing Tips for the Recipe
While snow cream is best enjoyed immediately, here are some clever strategies if you need to preserve it briefly:
- Keep prepared snow cream in a metal bowl nestled inside a larger bowl filled with ice to maintain coldness for up to 30 minutes
- Store collected snow (without added ingredients) in a cooler outside if you’re not ready to make your snow cream yet
- Pre-mix and refrigerate your sweetened condensed milk and flavoring the night before a predicted snowfall for instant preparation
- If desperate to store leftovers, freeze in individual portions in pre-chilled containers—though texture will change somewhat upon thawing
- For a make-ahead option, prepare your flavor base and chill until snow arrives
Conclusion
This delightful snow cream recipe transforms ordinary snow into a magical winter treat in minutes, using simple pantry ingredients. Whether you’re making snow ice cream with sweetened condensed milk or trying healthier variations, this nostalgic dessert creates sweet winter memories that last long after the snow melts.
We’d love to hear how your snow cream adventure turns out! Leave a comment below with your favorite flavor additions, share your creation photos, or subscribe to our blog for more seasonal recipes that bring joy to every season.
FAQs
Q: Is it safe to eat snow? A: Fresh, clean snow collected from pristine areas away from pollution sources is generally safe to consume. Avoid yellow snow, snow near roads, or visibly dirty snow. For extra precaution, collect falling snow in a clean container rather than scooping from the ground.
Q: Can I make snow cream without sweetened condensed milk? A: Absolutely! You can make snow ice cream using regular milk and sugar (1 cup milk + 1/4 cup sugar), heavy cream and powdered sugar, or even dairy-free alternatives like coconut milk with maple syrup.
Q: How much snow do I need to collect? A: For a family-sized batch of snow cream, collect about 8-10 cups of fresh snow. Remember that snow compacts as you work with it, so gathering a bit extra is always wise.
Q: What if we don’t have snow in our area? A: You can create a similar treat using a blender to crush ice very finely, though the texture won’t be identical to true snow cream. Some people also make “mock snow cream” using shaved ice from a machine.
Q: Can I make chocolate snow cream? A: Yes! Simply add 2-3 tablespoons of unsweetened cocoa powder to your condensed milk mixture before combining with snow. For a richer chocolate flavor, drizzle with chocolate syrup.
Q: How long does snow cream last? A: Snow cream is best enjoyed immediately after preparation. Unlike commercial ice cream, it doesn’t contain stabilizers and will begin melting or developing ice crystals quickly. For the best experience, make only what you can enjoy within 15-20 minutes.