Are You Still Buying Chemical Waxes When You Can Whip Up a Soothing, All-Natural Solution at Home?
It might surprise you to know that over 60% of people who use at-home waxing kits aren’t aware that their skin sensitivity can worsen due to chemical preservatives and artificial resins used in store-bought waxes. If you’ve been wondering how to get soft, radiant skin without the irritation or mess, this guide is for you. Crafting your own sugar wax recipe is easier than making pancakes and far gentler on your skin.
In this post, you’ll learn how to make the perfect DIY sugar wax in five simple steps using minimal ingredients. This method isn’t just cost-effective—it’s environmentally friendly, suitable for most skin types, and wildly satisfying.
Ready to ditch the chemicals? Let’s dive into this smooth-skin revolution.
Ingredients List

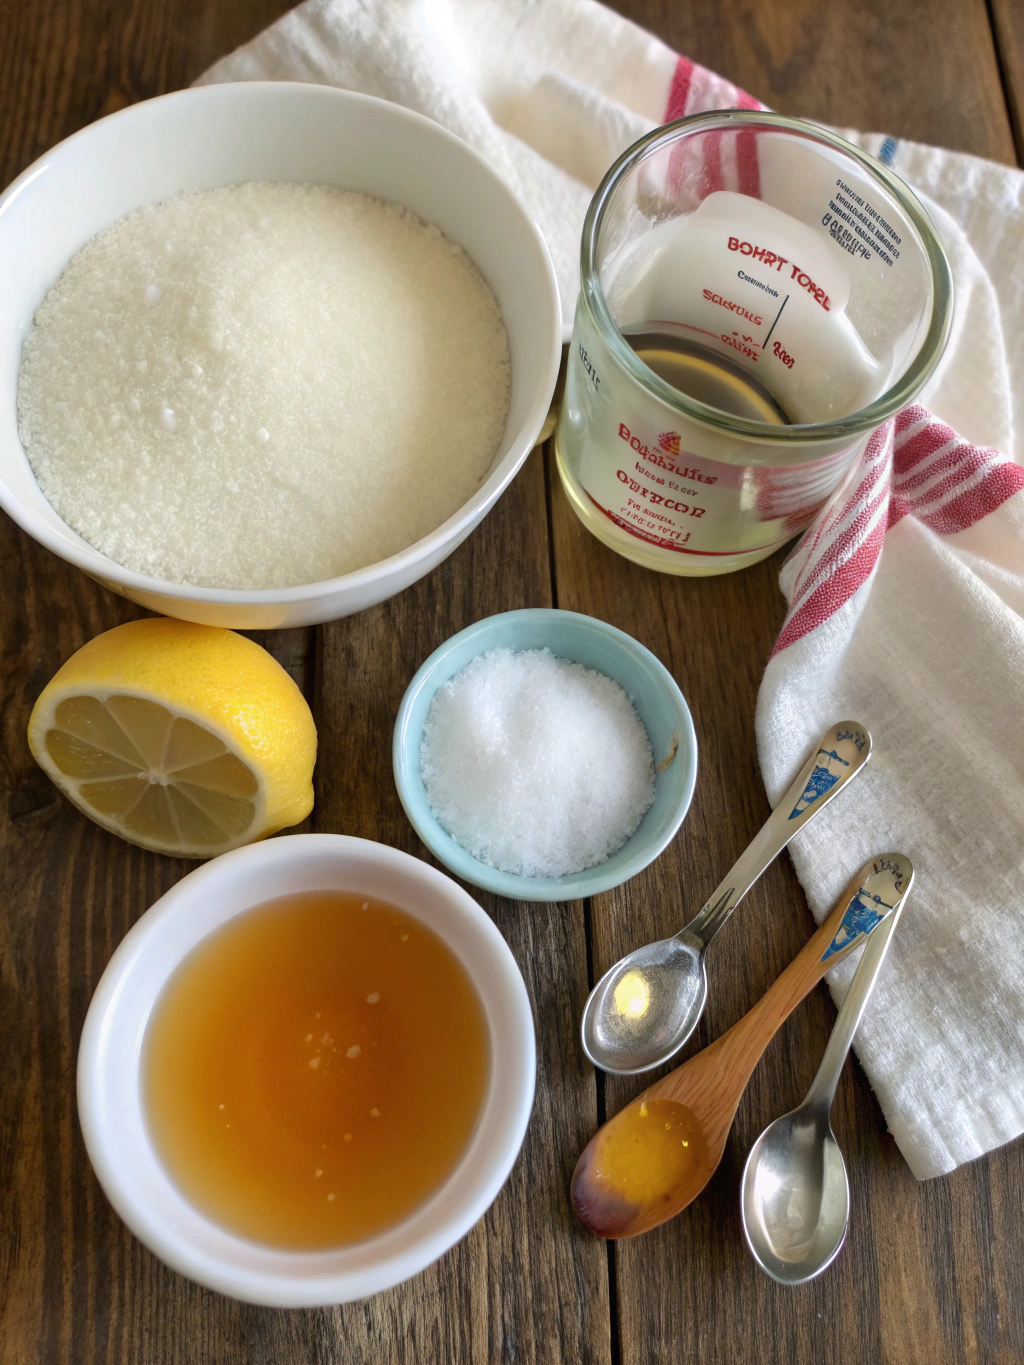
To get started, gather the following pantry staples. Each ingredient plays a unique role in achieving the perfect consistency and grip for effective sugar wax recipe results.
- 1 cup granulated white sugar: The primary exfoliating and gripping agent.
- 1/4 cup lemon juice (fresh or bottled): Acts as a natural preservative and breaks down hair at the root.
- 2 tablespoons water: Helps adjust consistency and prevent over-thickening.
- Optional Substitutions: Use apple cider vinegar in place of lemon juice for sensitive skin; swap in brown sugar for a gentler exfoliating effect.
These everyday ingredients combine to create one powerful natural wax that works seamlessly for those exploring sugaring at home.
Timing
One of the best parts about this DIY wax is how little time it takes to prepare and use:
- Preparation Time: 5 minutes
- Cook Time: 8–10 minutes
- Total Time: 15 minutes (25% less time than most store-bought wax application routines)
Compare that to a salon visit—which can take over an hour—and it’s clear why more people are choosing to make sugar wax themselves.
Step 1: Combine Ingredients in a Saucepan
Using a medium-sized non-stick saucepan, blend the sugar, lemon juice, and water. Stir continuously to prevent crystallization and ensure even melting.
🧠 Pro Tip: Avoid using too-high heat—it can result in a rock candy texture rather than a sticky wax-like consistency.
Step 2: Bring to a Gentle Boil
Turn the heat to medium-high, stirring as bubbles begin to form. Once the mixture starts boiling, reduce to medium and monitor the color. You’re aiming for a warm, honey-like golden tone.
🧪 Did You Know? The sugar undergoes a caramelization process at about 250°F—helpful if you’re using a candy thermometer.
Step 3: Temperature Check and Remove
As the mixture darkens slightly and thickens, take a spoonful and let it cool for a few seconds. It should be pliable but not runny. Turn off the heat and allow it to cool in the pan for 10–15 minutes.
🎯 Personalization Tip: Need stronger grip for coarse hair? Let the wax cool slightly longer until it’s tackier.
Step 4: Transfer to a Container and Let It Set
Pour the mixture into a heat-safe glass container. As it cools to a comfortable handling temperature, it will transform into a pliable, gel-like consistency. This step is key for smooth application.
Step 5: Apply and Remove
Take a small ball of wax, roll it in your hands, and apply it against the direction of hair growth. Quickly pull it off in the opposite direction. No muslin cloth needed!
🎉 Bonus: This method works wonderfully even on sensitive areas like the bikini line and underarms.
Nutritional Information (Well, Sort Of!)
While there are no calories to count here, this data may be just as impactful:
- 100% natural ingredients—no synthetic resins or chemical preservatives.
- Eco-friendly and biodegradable.
- Causes less irritation for most skin types compared to traditional waxing kits.
- Cost per batch: $0.75 on average—up to 95% cheaper than salon treatments!
Switching from synthetic waxing products to this sugar wax recipe can do wonders for your skin and your wallet.
Healthier Alternatives for the Recipe
If you’re looking to optimize the recipe for different skin needs, consider the following:
- Sensitive Skin Option: Replace lemon juice with witch hazel or chamomile tea for a soothing blend.
- Zero Waste Option: Add a drop of organic essential oil (like lavender or tea tree) for added antibacterial benefits.
- Hypoallergenic Twist: Use cane sugar instead of beet sugar, which can sometimes be genetically modified.
These adjustments maintain the effectiveness of the best sugar wax recipe while customizing it for your unique needs.
Serving Suggestions
Yes, even wax can have a beautiful presentation! Elevate your self-care ritual by:
- Adding a botanical touch—store your wax in a recycled glass jar with dried rose petals.
- Pairing your waxing session with soothing music and herbal tea for a spa-like atmosphere.
- Use as a thoughtful DIY gift for friends who also ask, “how do I make wax at home?”
Common Mistakes to Avoid
Avoid these pitfalls to make sure your recipe is salon-successful:
- Overcooking the sugar: This is the #1 issue—watch the color closely.
- Using metal spoons: These can retain heat and mess with the batch’s texture.
- Applying wax before it cools: It might burn your skin. Always do a patch test first.
- Waxing over broken skin: This can lead to irritation and even infections.
Avoiding these mistakes helps ensure your sugar wax recipe delivers flawlessly every time.
Storing Tips for the Recipe
Proper storage means your wax can last for weeks:
- Cool, dry place: Use an airtight container and store away from moisture.
- Microwave Reheat: Just 10–15 seconds to bring it back to workable texture.
- Don’t refrigerate: It’ll harden to a point where revival becomes tricky.
- Shelf life: Up to 4–6 weeks if stored properly.
Put simply, once you make sugar wax, you’ll rarely find yourself without it.
Conclusion
Creating the ideal sugar wax recipe doesn’t require fancy tools or costly ingredients. Just sugar, lemon, water, and a little patience can give you salon-quality results—without the salon price or harsh chemicals.
So why wait?
Try your own batch today, pamper your skin the eco-friendly way, and drop us a comment with how it went. Want more DIY skin-care recipes or beauty tips? Check out our other self-care guides right here on the blog.
Table of Contents
FAQs
1. Does sugar wax really work as well as salon wax?
Yes! If applied correctly, sugar wax can be just as effective, especially for fine-to-medium hair. It sticks more to hair than skin, reducing irritation.
2. Is DIY sugar wax safe for sensitive skin?
Absolutely. In fact, it’s a preferred method for many with sensitive skin due to its all-natural ingredients.
3. How do I know when the sugar wax is ready?
A golden hue and thick syrup texture are key. You should be able to pick it up with your fingers once it cools.
4. Can I reuse sugar wax?
Yes! Once used, roll it into a ball and reuse until it loses grip. Always discard after one session for hygiene.
5. What’s the best way to clean up after waxing?
This wax is water-soluble—just rinse your skin or tools under warm water and wipe clean.
Embrace the simplicity, sustainability, and serenity of making your own sugar wax. With this easy-to-follow guide, you’re just one recipe away from smoother days ahead.


